[This post was written using Rack v0.6. The following will continue to work until Rack v2, however this information is now largely obsolete given that VCV Bridge is deprecated and unsupported as of Rack v1]
I recently started using VCV Rack. Rack is a cross-platform open-source modular synthesizer that aims to model Eurorack standards in software. While it is yet to hit version 1.0, Rack already has a sizeable number of free (and paid) plugins that extend functionality of the software, and an active community. Rack runs as a standalone application, but also plays nicely with other DAWs.
The Rack manual outlines how to use it with several audio applications, but details for integrating it with some of the software I often return to—Max and Cubase—was missing from the Bridge page at the time of this writing. It seems that some updates to the manual (detailing how to use Rack with Cubase) are waiting for review in GitHub, but the steps listed don’t appear to work with Cubase on macOS.
In the meantime, though here are the steps I have used to get audio from Rack in and out of Cubase. A post about using Rack with Max will follow. [See above]
Rack to Cubase
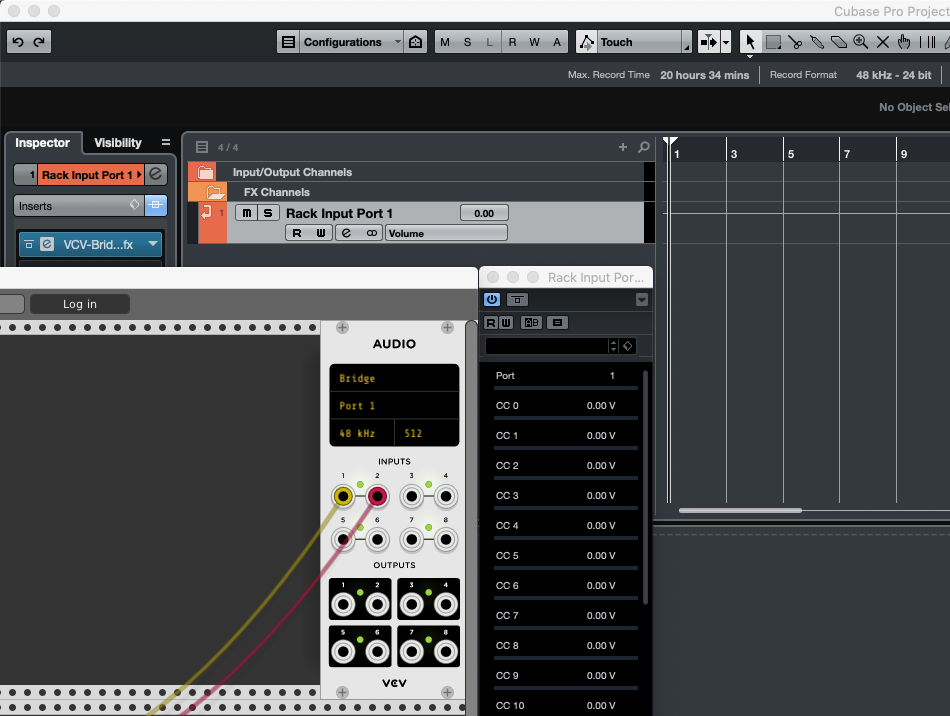
To send audio from Rack into Cubase, add a mono/stereo FX Channel Track to your project, and select ‘VCV-Bridge-fx’ as the effect [Fig 1]. Give your FX Channel Track a useful name, such as Rack Input Port 1.

In the plugin editor window for VCV-Bridge-fx, choose a unique Port (eg. Port 1). In Rack, set the ‘Audio driver’ of your Audio output module to Bridge, and under [No Device] select the same Port as set in the plugin in Cubase. [Fig 2]
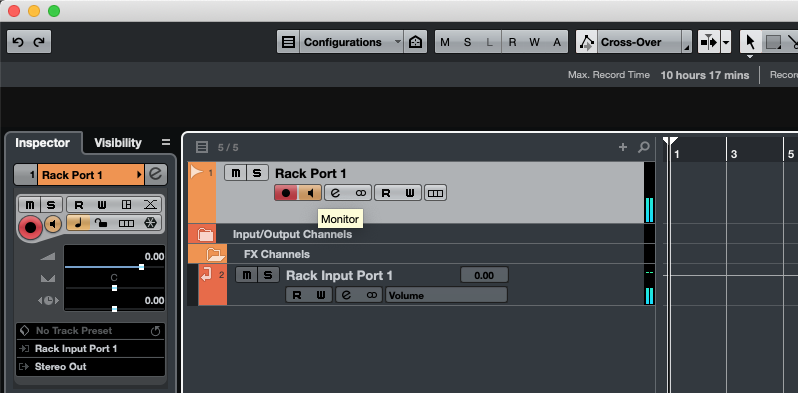
Audio from Rack should now be redirected into Cubase. To record the audio sent from Rack into Cubase, add a new Audio Track and set the input bus to be the FX Channel with the VCV-Bridge-fx plugin. [Figs 3 and 4]

[Caveat: In Cubase, mono Audio Tracks only accept mono FX Channel Tracks as input, however stereo Audio Tracks accept both mono and stereo FX Channel Tracks as input.]
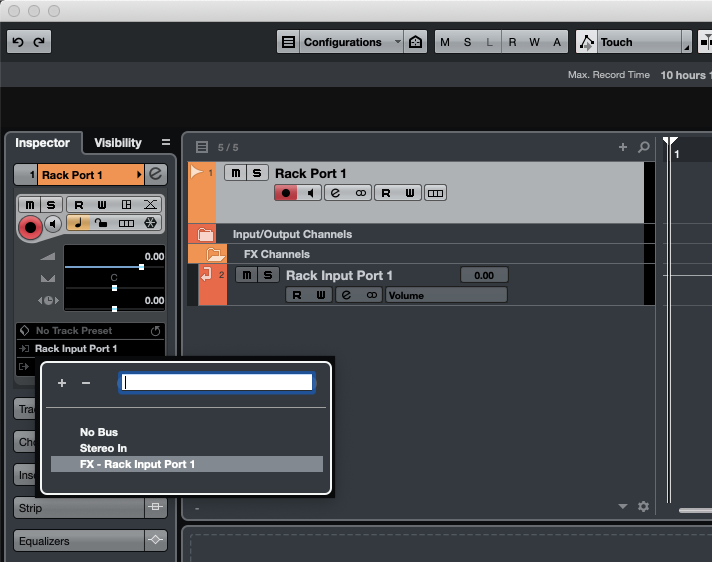
Record Enable your Audio Track, hit record, and make some sounds in Rack. Note: If Monitor is enabled on the audio track you are recording to [Fig 5], be sure to set the output bus of your FX Channel Track to No Bus.
Cubase to Rack
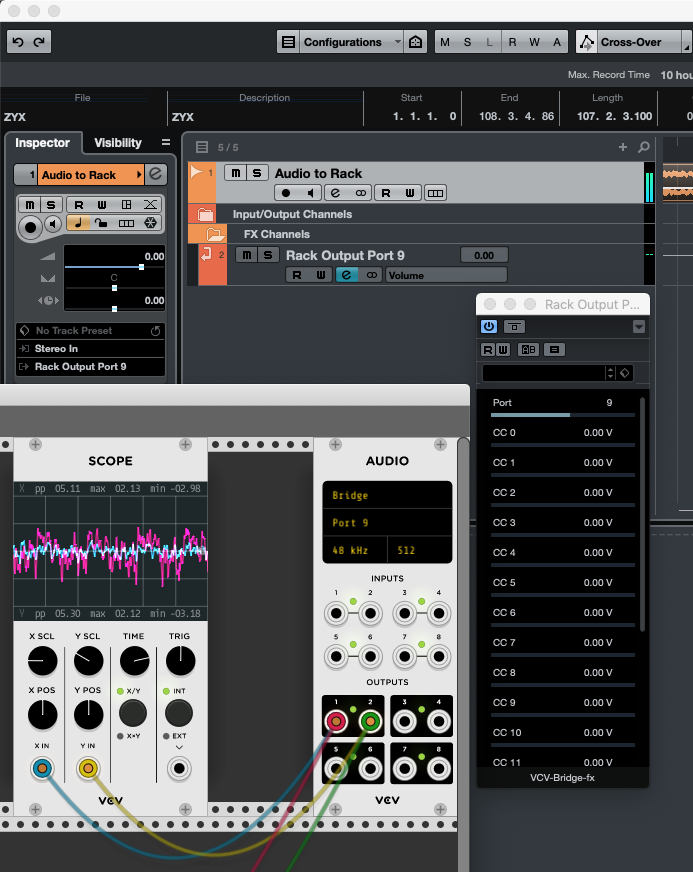
To send audio from Cubase into Rack, create a mono/stereo FX Channel Track, and select ‘VCV-Bridge-fx’ [as in Fig 1]. In the plugin editor, choose a unique Port (eg. Port 9). Give your FX Channel a useful name, such as Rack Output Port 9.
Set the output bus on the Audio Track that you want to send into Rack to the FX Channel added in the previous step, eg. Rack Output Port 9. In Rack, add an Audio output module. Similar to Fig 2, set the Audio driver to Bridge, and select the same Port as set in the plugin in Cubase. Audio from Cubase will be routed into Rack through the outputs of the Audio module [Fig 6].
When loaded as an insert effect or on an FX Channel Track, the ‘VCV-Bridge-fx’ plugin stops audio pass-through, so there is no need to set the output bus of the FX Channel Track to No Bus. If however, you need to monitor the audio sent to Rack in Cubase, you can instead load Rack Output Port 9 as a send effect on that audio channel.