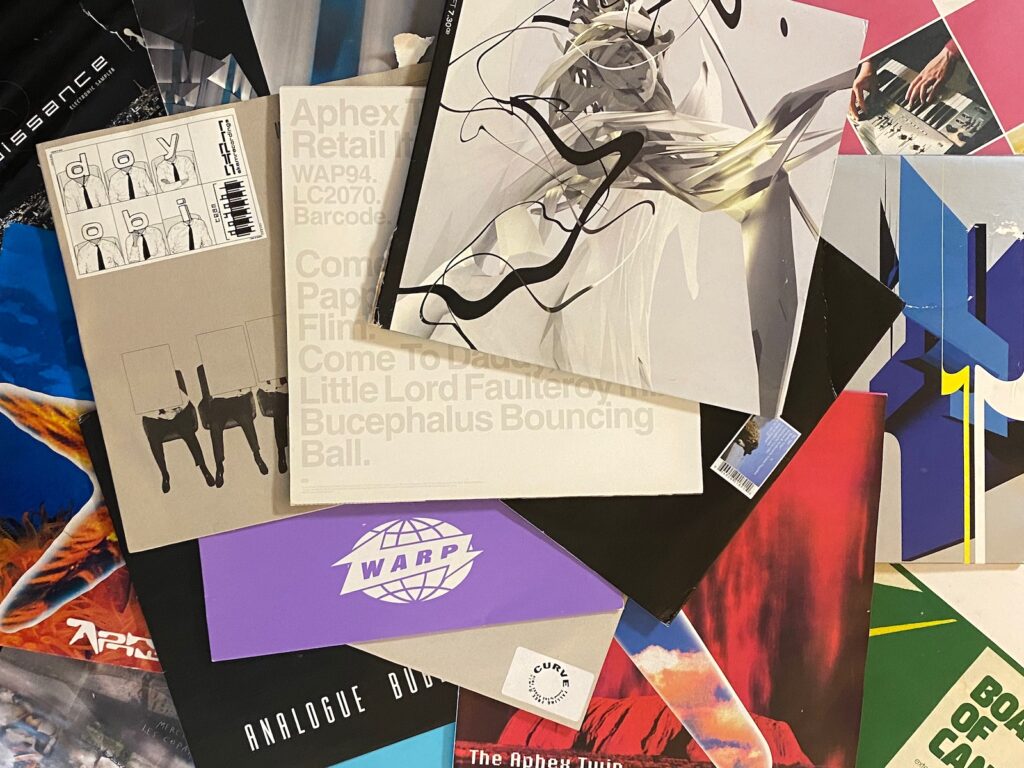
A little while ago, I had a flood and — among other things — all my vinyl got damaged. Packed alongside the vinyl, I found the catalog (also water damaged) for Lovebytes 2001 — an electronic arts festival which ran in the early 2000s. (I guess it must have been thrown in as some promo gear along with something I purchased from Warp at the time because I didn’t make it to the festival itself.)

Flicking through the catalog, it’s a lovely snapshot of the time — reminiscent of zine culture — that carries the enigmatic optimism the scene seethed with: there are shorts in there about Eric Singer, interviews with Jeremy Bernstein, and articles about Oval written in fonts too small to read.
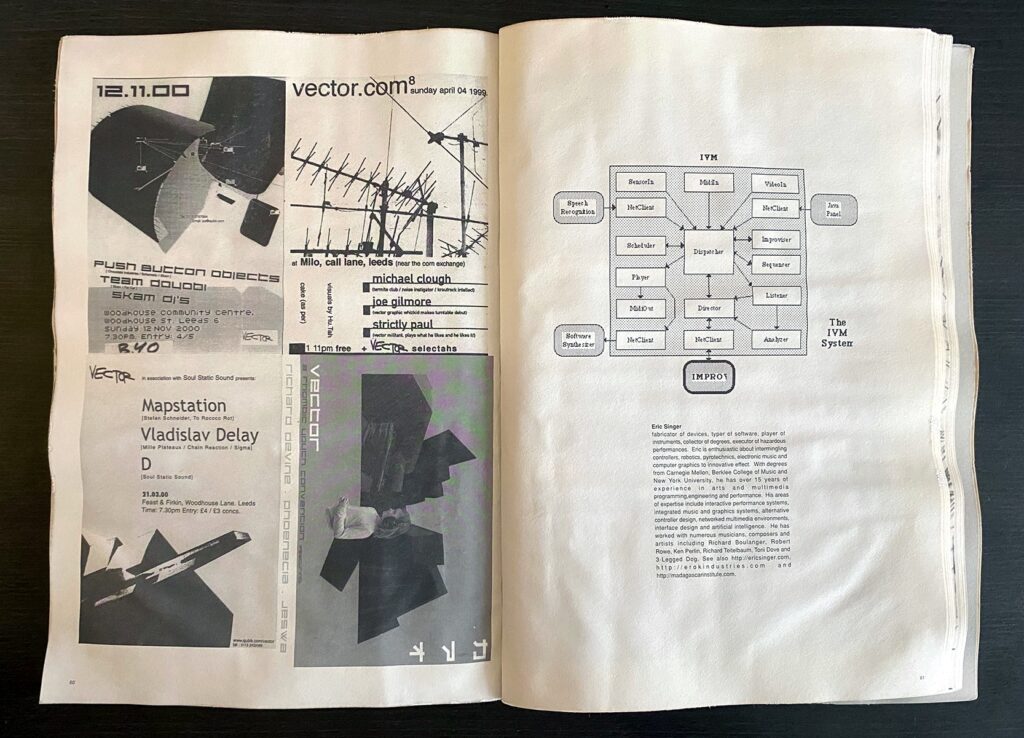
Late in the catalog, there is a verbose treatise that discusses the works of Booth, Brown, Autechre, and Gescom. I’d long wondered what it was and I only just stumbled across the answer: it’s text from a “critical theory generator” made by Autechre (with Max of course) to generate their “manifesto for the lovebytes 2001 catalogue”. The explanation was originally posted in a Q&A microsite (q 4 ae) on the Warp Records website. It’s hard to find again on archive.org, but some of the questions/answers have been reposted on WATMM:

I didn’t manage to find a digitised version of this online, so I’ve scanned it and uploaded it to archive.org for posterity: https://archive.org/details/autechre-critical-theory-generator-for-lovebytes-2001


