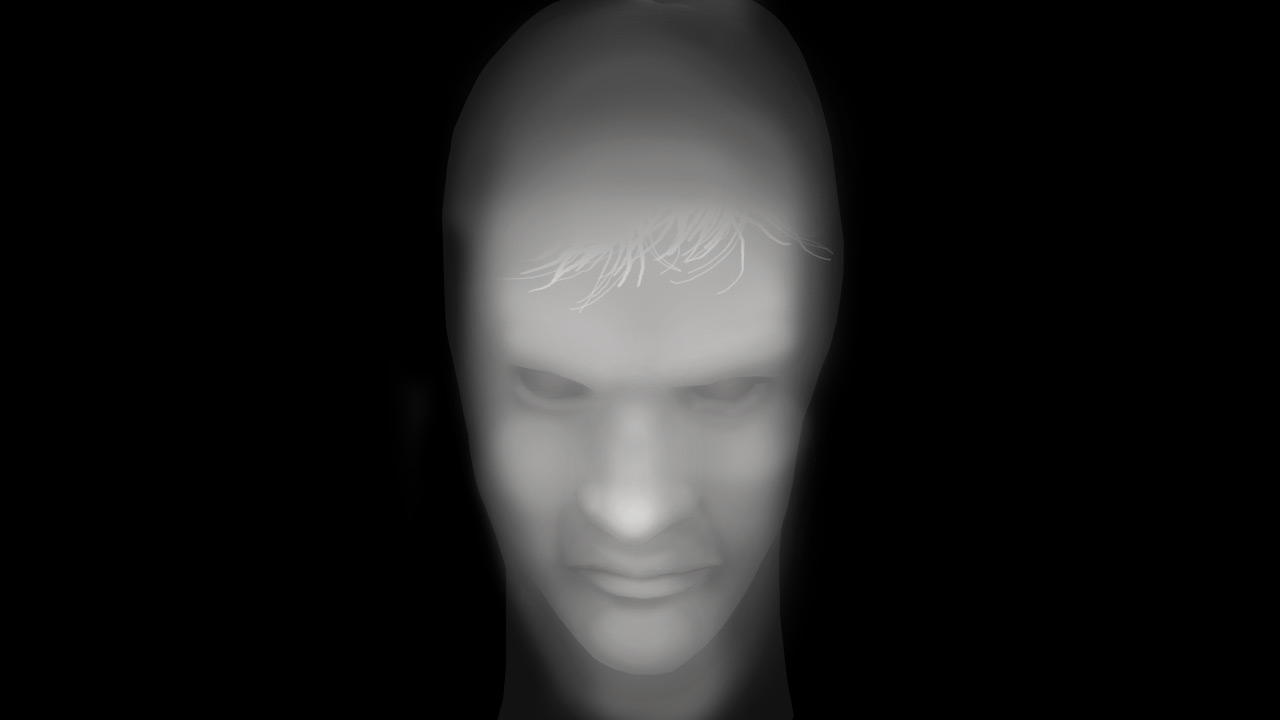
I was recently watching some videos about using ‘displacement maps’ in After Effects, which is a way to give 2D images the appearance of being 3D. It’s a beautifully simple idea and I wanted to see if I could recreate this effect in Processing.
In short, the 3D appearance is simulated by offsetting the position of each pixel by some (varying) value. The offset amount is dictated by a depth map, which can be as simple as a series of greyscale layers that represent ‘planes’ of extrusion, much like how elevation is represented on a topographical map.
The following video simulates a moving perspective, where the only source material is a still image, and a greyscale image representing topography.
This effect is achieved by using the brightness of the pixels in the depth map to offset the location of pixels from the input source. Sarah created a detailed depth map for this (below).
My initial approach used a simple lookup of the depth map to offset the pixels of the input source to create the output. This is a fairly efficient implementation, but produces a low-quality output, as using a one-pass lookup to extrude points can leave some pixels in the output array blank. Why? Because bright areas can offset pixels by a large value, and dark values offset by a small value. Some pixels in the source input can therefore be mapped to the same pixel in the output (and therefore some output pixels are left unmapped).
You can see the result of this in the video below:
Download the PerspectiveLite Processing sketch.Additionally, a single iteration through the list of pixels can cause pixels later in the array to overwrite any previously set pixels (which has the potential of bringing the top lip in front of bottom lip when shifting the perspective upwards, for example).
A higher quality result (as shown in the first video) can be produced by deducing which pixel is likely to be mapped to a specific point in the output — this also allows brighter values in the depth map to take precedence. This is done by walking through the output array, and calculating which pixel (given the magnitude of the perspective transform) meets the conditions of that amount of offset. Stepping through the pixels on the depth map (from 0 to the maximum offset, multiplied by the brightness of the pixel in the depth map) also lets you calculate which pixel from the input should be the frontmost (in the event that two pixels are mapped to the same point the output).
The following sketch demonstrates this approach. This implementation is a bit too computationally expensive to run in the browser at useful frame rates unfortunately, but you can download the Perspective Processing sketch to play around with offline.

